~~NOTOC~~ ===== Transfer PCW files to PC in standard ASCII format =====
A> Introduction

One of the major problems facing the world of personal computing is the incompatibility between computers built by different brands. This often means we do not know how to communicate our PCW with a PC.

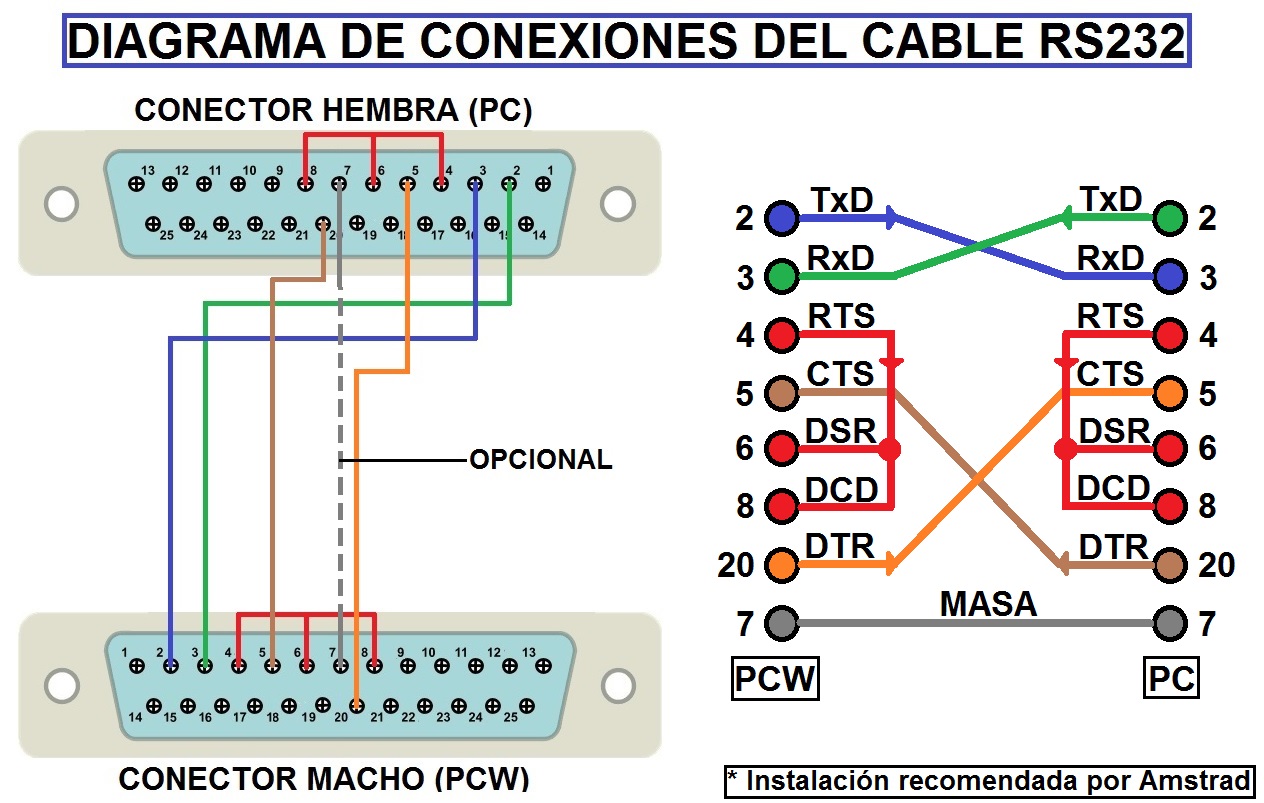
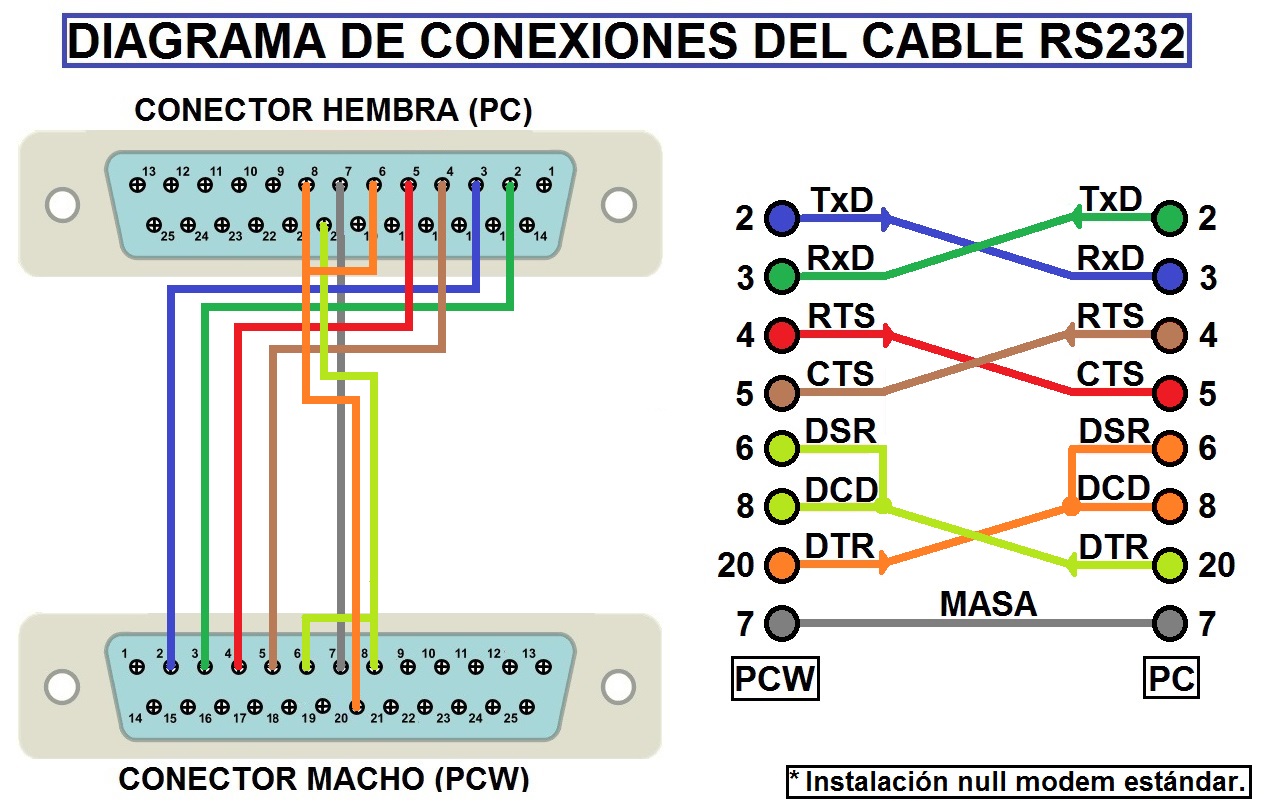
There are different peripherals on the market that allow us to connect our PCW to the PC. These peripherals are known as the RS232 interface or Centronics port.

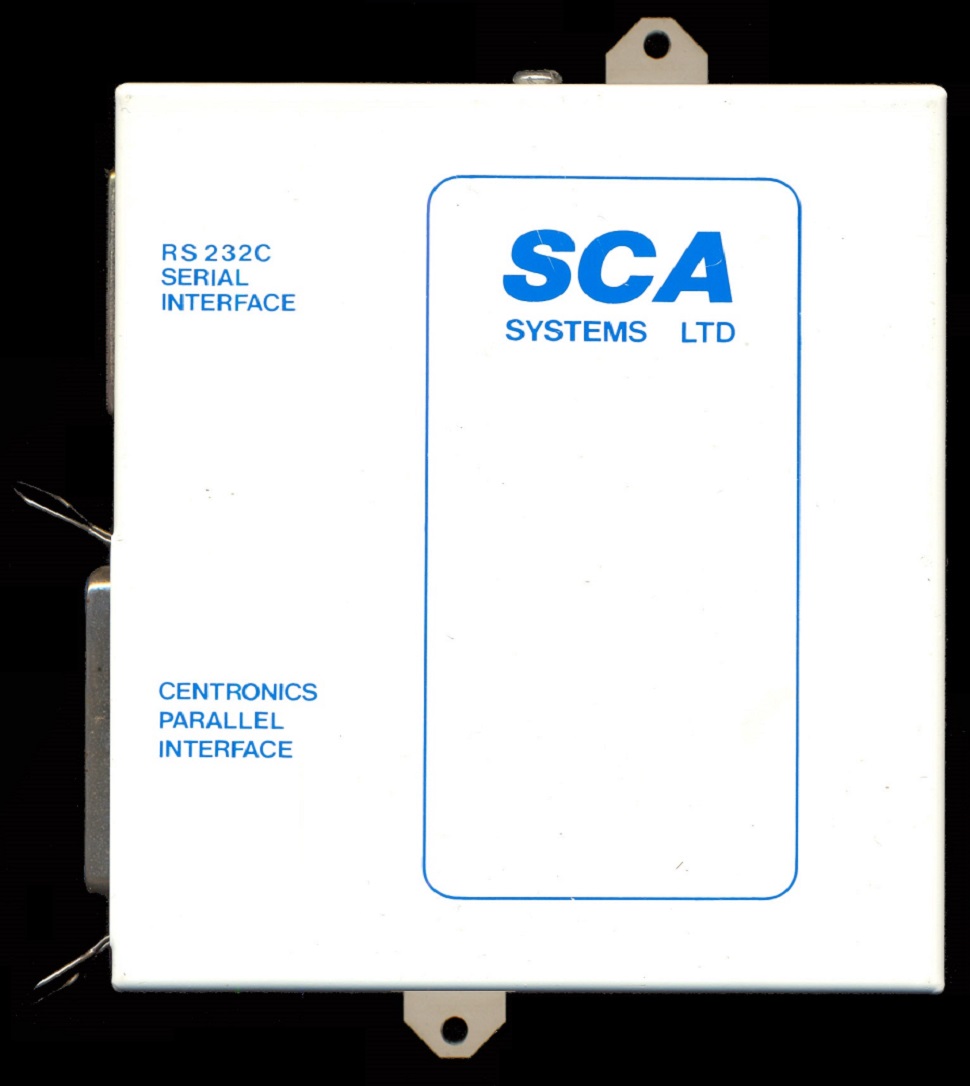
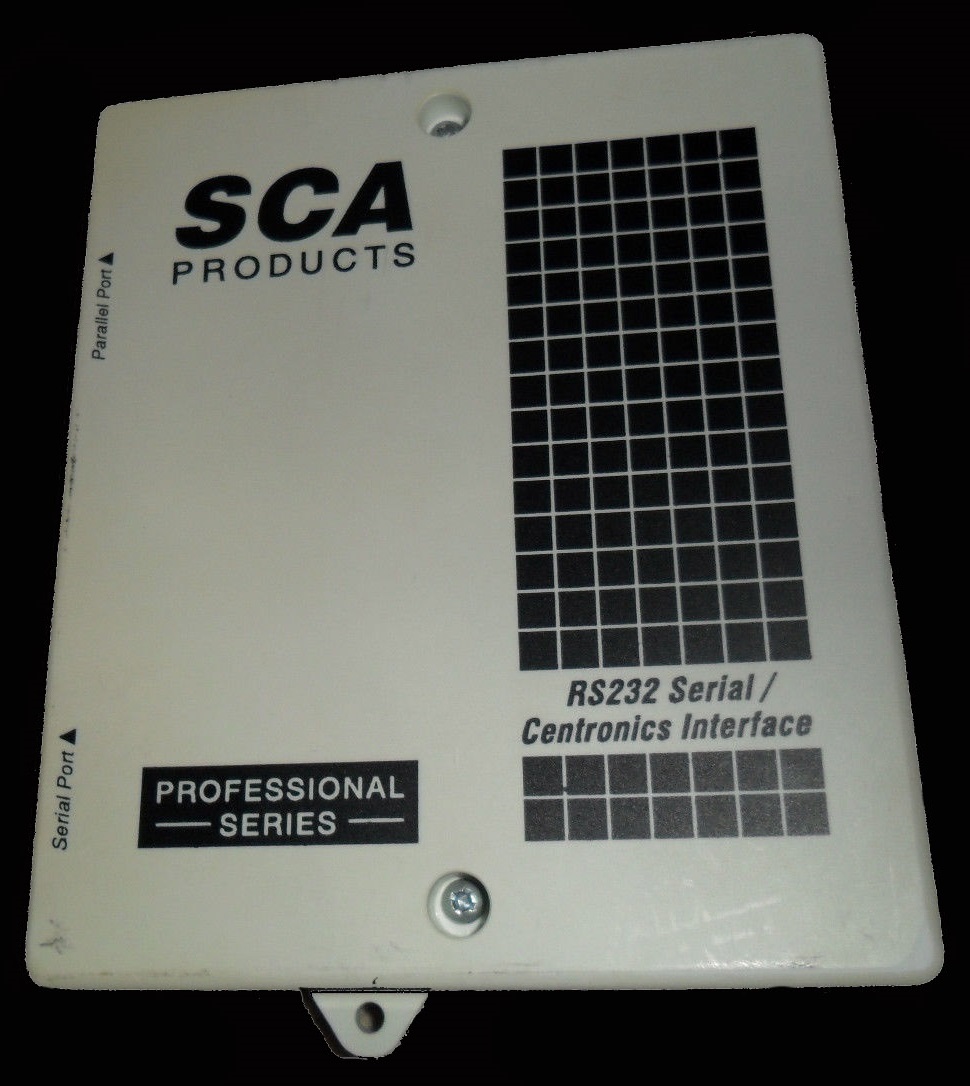
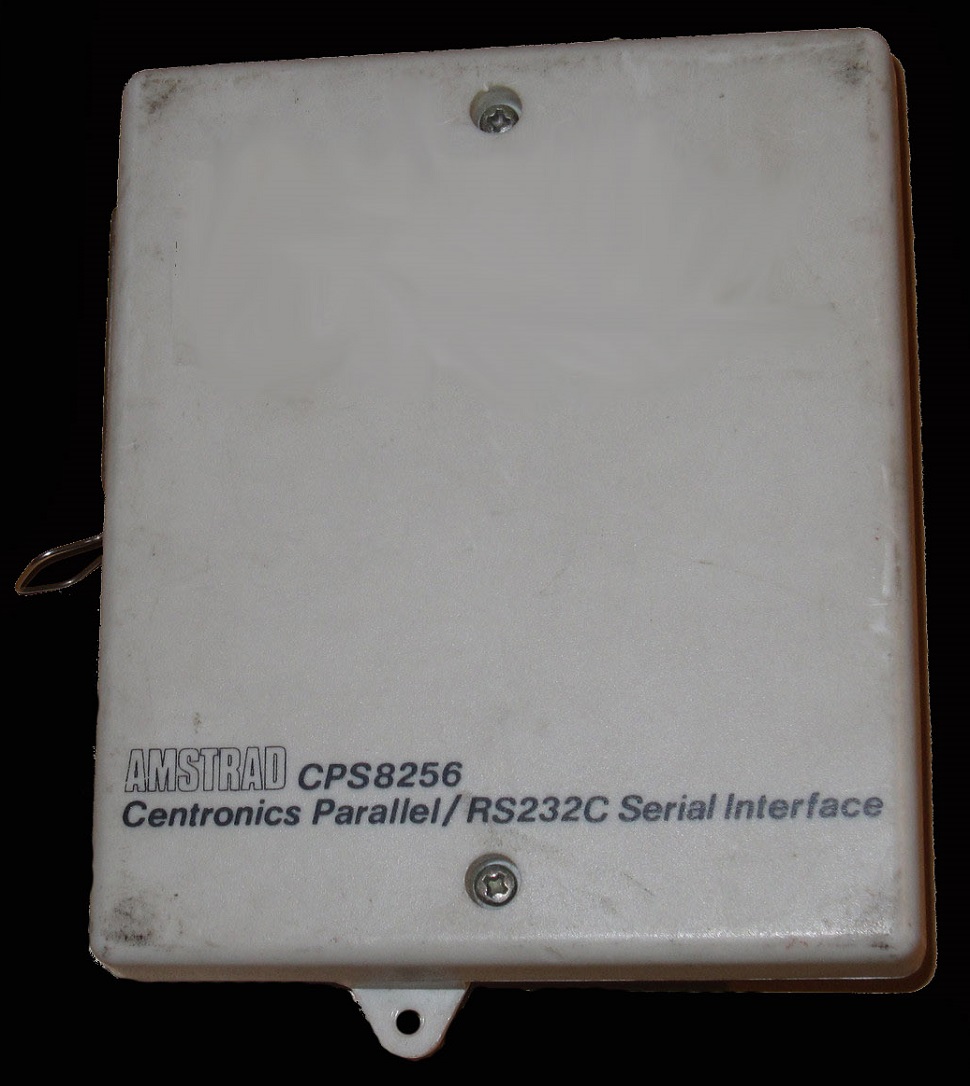
Below are some images of some of these peripherals.

The Centronics port is simply another standard communication system. It presents several differences compared to the RS232, the main ones of which can be summarized as follows:

Basically, almost all interfaces look very similar and have identical functions. Using them couldn't be simpler: with the computer off (always), connect the interface to the expansion bus, turn on the computer, insert the CP/M disk and... that's it! Along with the usual presentation message, a new one appears indicating that the interface is available.

When starting the computer with the interface attached, the serial port is automatically assigned to the logical device AUX.

The parameters referring to serial transmission are fixed upon starting the computer at 9600 baud, 1 stop bit, 8 data bits, and no parity control. These values can be changed from CP/M using SETSIO, and the values we choose will depend on the other device we want to connect or the transmission conditions (if it is a serial transmission to a distant receiver, we may have interference problems if we use very high speeds. The obvious solution is to attempt transmission at lower speeds).

As for the differences between interfaces, they are quite few. Some are larger and include the possibility of bolting them to the PCW, others do not provide for this possibility. In others, their connectors differ.

A> File Transfer

Many users want to take advantage of their PCW files on a PC without having to recreate them. This is a solution to do it with relative ease. It will allow us to transfer files that are in standard ASCII format without problems. If the file we want to transfer to the PC is not in this format, we will need to transform it first.

In the case of a LocoScript file, the way to do it is to choose the Modes option (f7) from the menu, and within it, the one called "make ASCII file". This allows us to convert a LocoScript file on the disk to ASCII format.

In the case of a Database file created with DBASE, we should use the command COPY TO name SDF, which creates a file in ASCII format with the name we indicate. In the case of an AMSFILE file, we can convert it to DBASE first.

While it may be obvious to some, it is worth noting that executable files (.COM) cannot be transferred with this method, though I doubt anyone would be interested in having Z80 code files on a PC.

Well, once we have the file in ASCII format, we need two more things: an RS232 cable and an RS232 interface for our PCW. The PC already incorporates its RS232 interface. The RS232 cable, which should be a standard, is not always so. The connections to be used are explained below:

It is important that the connectors are suitable. On the PC side, it must be female. On the PCW side, if using the Amstrad RS232 interface, it must be male.

DTE: Data Terminal Equipment (computer).
DCE: Data Communication Equipment (modem).
TXD (Transmitted Data line): the line through which data is transmitted from DTE to DCE.
RXD (Received Data line): the line that carries data sent by the DCE to the DTE.
RTS (Request to Send): informs the DCE that the DTE is ready to transmit data.
CTS (Clear to Send): activated to indicate to the DTE that the DCE is ready for reception.
DSR (Data Set Ready): signal informing the DTE that the DCE is connected.
GND (Ground): signal ground line.
DCD (Data Carrier Detect): used by the DTE to detect the carrier signal from the DCE.
DTR (Data Terminal Ready): line used by the DTE to indicate to the DCE that it is ready for data reception.

Be very careful when connecting the interface and the cable. Both the PCW and the PC must be off to avoid any risk. Once the interface and cable are connected, follow these steps:

A> Verification and Software

If everything is correct, the file will transmit successfully, and the "A>" prompt will appear on both machines. If there is a problem with the cable or interface, one of the devices may show an error message.

If the cable is very long, the received file might appear with strange characters. In that case, try a lower transmission speed (e.g., 600 or 300 baud). Change the 1200 values in the previous steps to your desired speed.

Transferring data files from a PCW 8256 or 8512 to a PC is quite simple thanks to the CP/M system. The SETSIO program (disk face 3) allows adjusting speed, parity, stop bits, data bits, and protocol. SETSIO supports XON/XOFF and RTS/CTS protocols. The transfer is done using the PIP command.

In addition to hardware, other software can be used. Below is Kermit, a communication program for both PC and PCW.